RGB LED strip SK6812 - digital, addressable - IP30 60 LED/m, 5V - 5m - white
Bestseller
- Product Code:
- 47897818

331 GEL
Properties
- led type
- SK6812
- Voltage To
- 5.0 V
- Voltage From
- 5.0 V
- Светодиодный - цветной
- RGBW
- Светодиодно - цифровой
- yes
Basic information
- Rated power
- 90 W
General characteristics
- Класс герметичности
- IP30
Other features
- Brand
- BTF-LIGHTING
Power
- Rated voltage
- 5 V
Weight & dimensions
- Cable length
- 5.0 m
Description
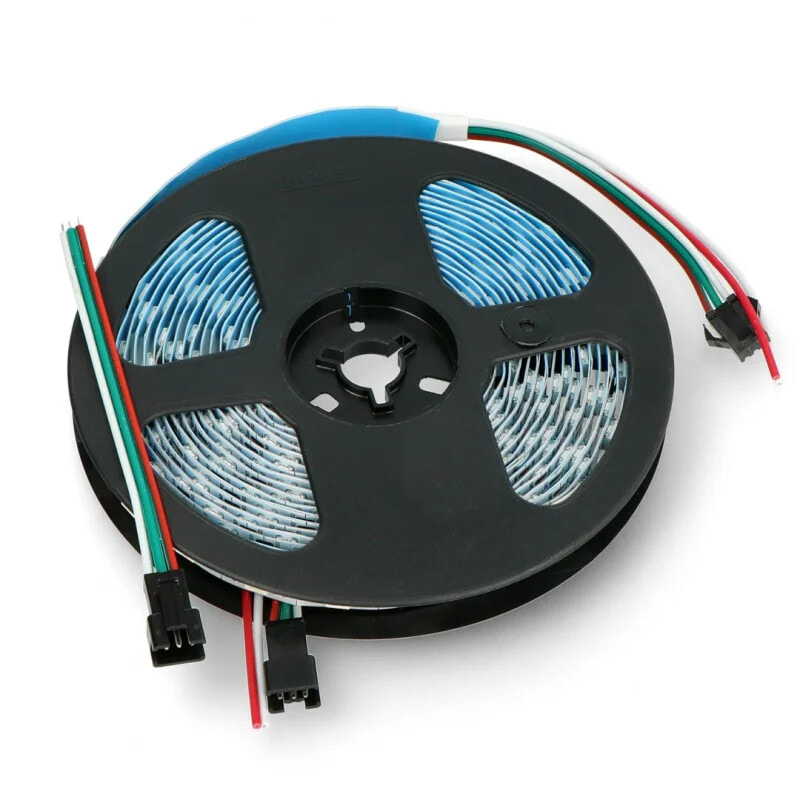
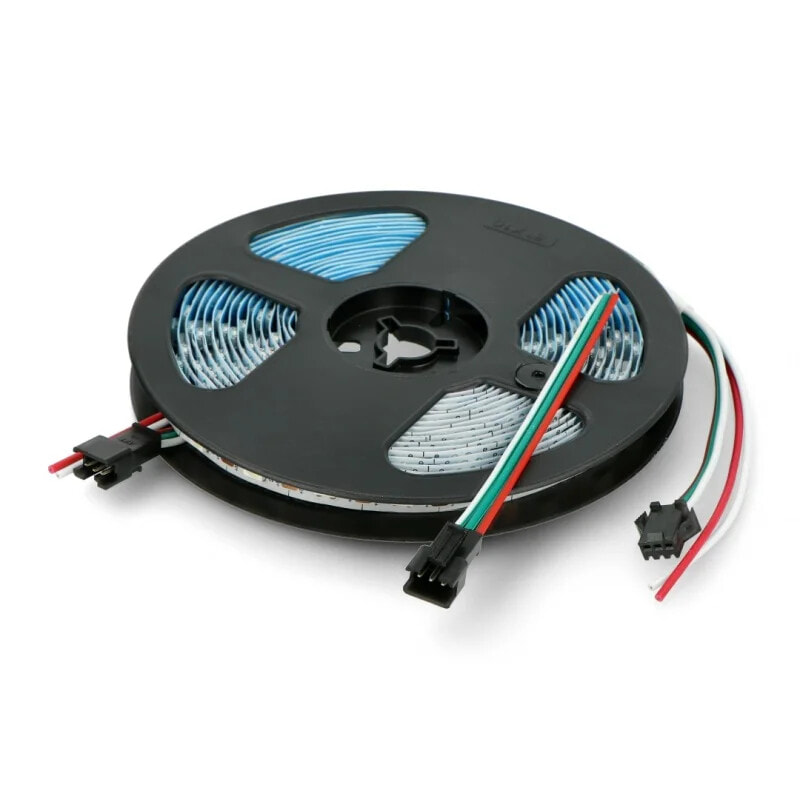
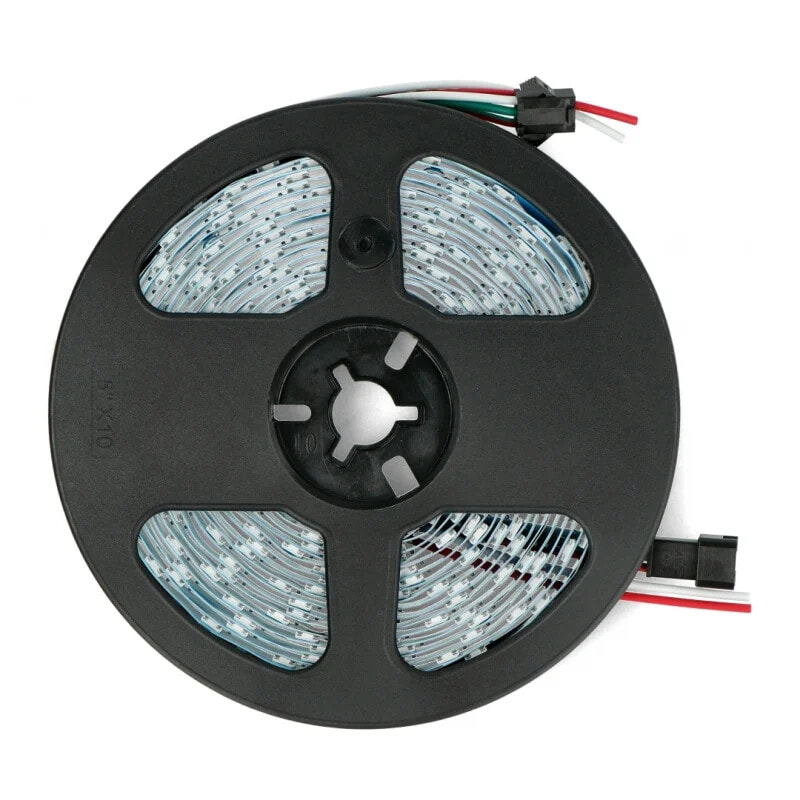
Product description: RGB LED strip SK6812 - digital, addressable - IP30 60 LED / m, 5V - 5m - white
RGB LEDstrip equipped with a chipSK6812,allowing for individual control of each diode. The density of diodes on the strip is60 diodes per meter ofstrip. The diodes can adopt any colour from a24-bit colour palette. A voltage of5 Vis used to power the chain, with a total power of90 W. One pin of the microcontroller is used to control the LED strip. The distance between the LEDs on the strip isabout 17 mm. The strip is powered by5 V.
The LED strip can be freely shortened in the marked places after each diode.
Combining several strips
LED strips can be connected together in series. The next strip should be connected with the output connector. The 5V, GND and DOUT terminals of the DIN must be connected. When using 500 or more LEDs, the RAM available to theArduino UNOmay not be sufficient. In such a situation, use a controller with more RAM such asArduino MegaorRaspberry Piminicomputer. Connecting more LEDs is also associated with higher power consumption, pay attention to this when choosing apower supply.
How to connect the LED strip
The strip has a 3-pin connector with the following leads:
- GND (white wire)- module ground.
- 5 V (red wire)- supply voltage, for one strip you should connect a source with current capacity of at least 1,8 A per meter.
- DAT (green wire)- digital control signal from the microcontroller.
Product compatible withArduinoandRaspberry Pi
- Arduino library on GitHubfor NeoPixel modules withconnection examples.
- Example of connectiontoRaspberry Piwith code.
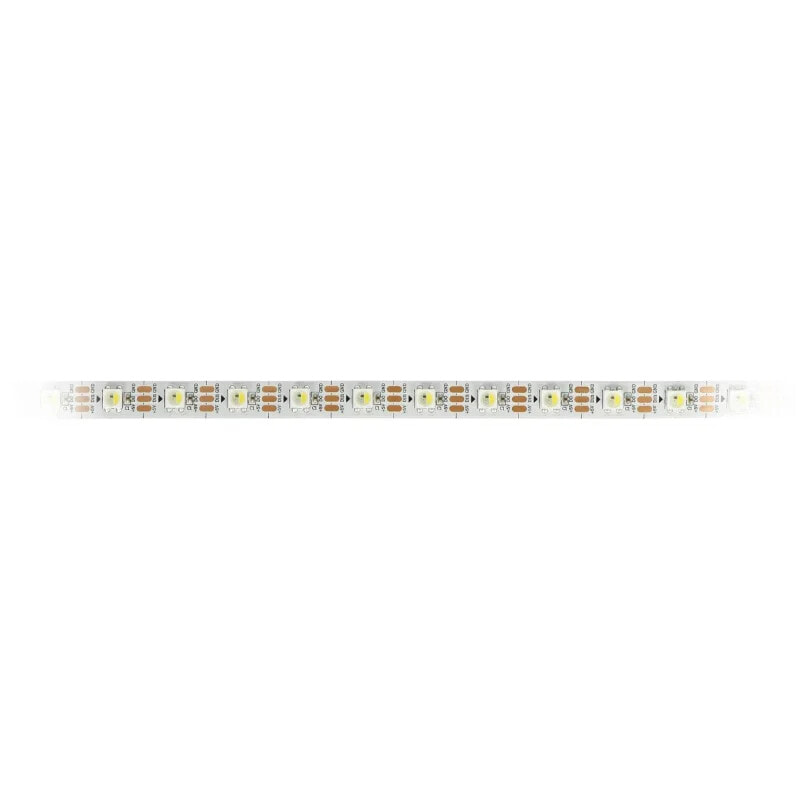
Circuit diagram of the strip.
There are 60 LEDs on one meter of the strip.
Installing Adafruit library for Arduino:
- Download the library fromGtitHubby clicking theDownload ZIPbutton
- Unzip the ZIP file you downloaded, you should see a folder containing the files: Adafruit_NeoPixel.cpp, Adafruit_NeoPixel.h and other subfolders
- Rename the main folder to: Adafruit_NeoPixel
- Move the entire folder to the Arduino libraries directory, by default it should be under the path: /Documents/Arduino/Libraries
- Restart your Arduino environment, the library will appear in Menu: File -> Examples
First time run - simple example
- Run the test program by selecting in the Arduino environment:
- File -> Examples -> Adafruit_Neopixel -> simple
- Select the pin from which the diodes will be controlled. By default it is pin 6:
- Line11#define PIN 6
- Select the number of pixels to be controlled. The default is 16:
- Line 14#define NUMPIXELS 16
- Upload the program to Arduino. The pixels should switch on one by one up to the number you specified in line 14.
- If you want to change the light color specify other values in the function:
- Line 40pixels.setPixelColor(i, pixels.Color(0,150,0))The RGB components are given in brackets, the maximum value of each component is 255
- Changing the lighting speed of individual pixels is possible by editing the values:
- Line 21int delayval = 500;
- Supply voltage: 5 V
- Power: 90 W
- Current consumption: 3.6 A/m
- Addressable pixel: 1 RGB diode
- Resistance to external conditions: IP30
- PCB color: white
- Width: 10 mm
- Chain length: 5 m
The product is wound on a plastic roll for easy transport and storage of the strip.
Useful links
- Arduino library on GitHub
- Ambilight TV system Raspberry Pi + OSMC - dobreprogramy.pl
- Example of connection to Raspberry Pi
- User guide in Adafruit system