LED strip RGBCW SK6812 - digital, addressed - IP65 60 LED/m, 18W / m, 5V - 5m
Bestseller
- Product Code:
- 57444624


326 GEL
Properties
- Led Lens
- Четкий
- Voltage To
- 5.0 V
- Voltage From
- 5.0 V
- LED Wavelength
- RGB
- LED - светодиоды
- 60 per meter
- Класс герметичности
- IP65
- Светодиодно - цифровой
- yes
- Светодиодный - цветной
- RGB
Basic information
- Rated power
- 18 W
Features
- Cable length
- 5.0 m
General characteristics
- led type
- SK6812
Other features
- Brand
- OEM
Power
- Rated voltage
- 5 V
Description
Description
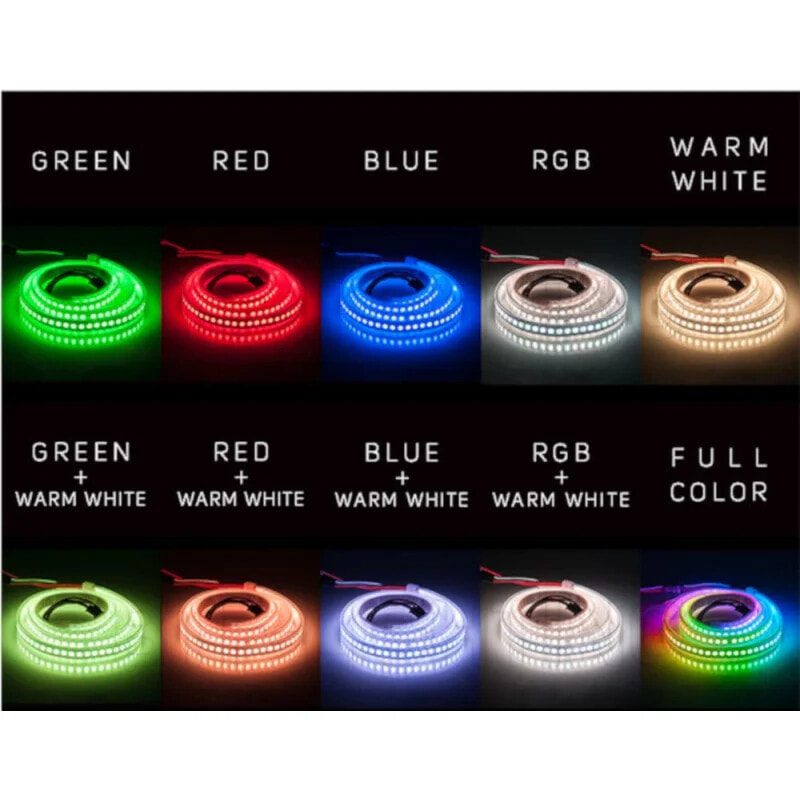
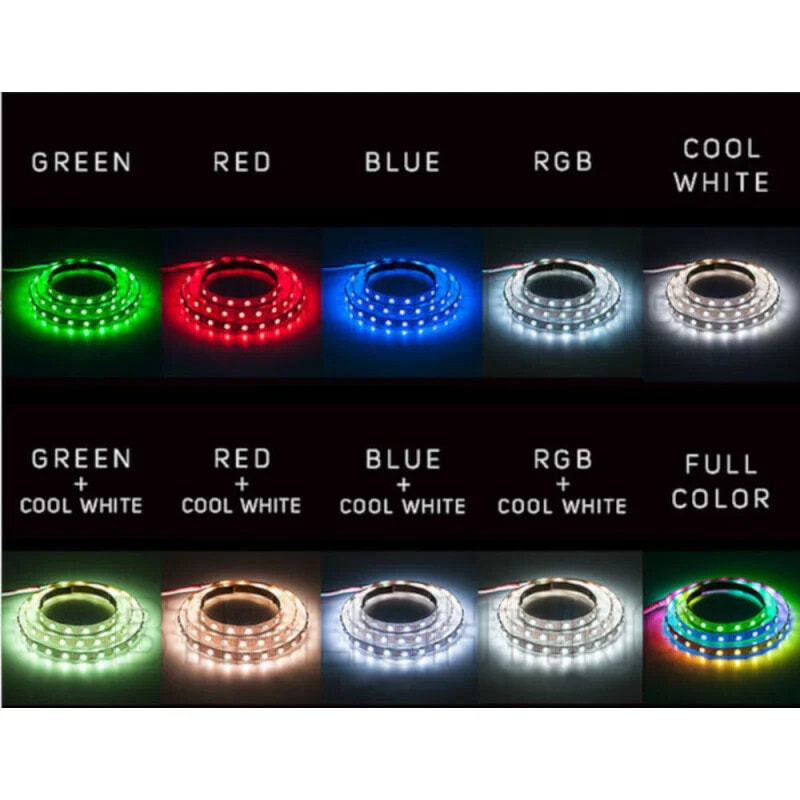
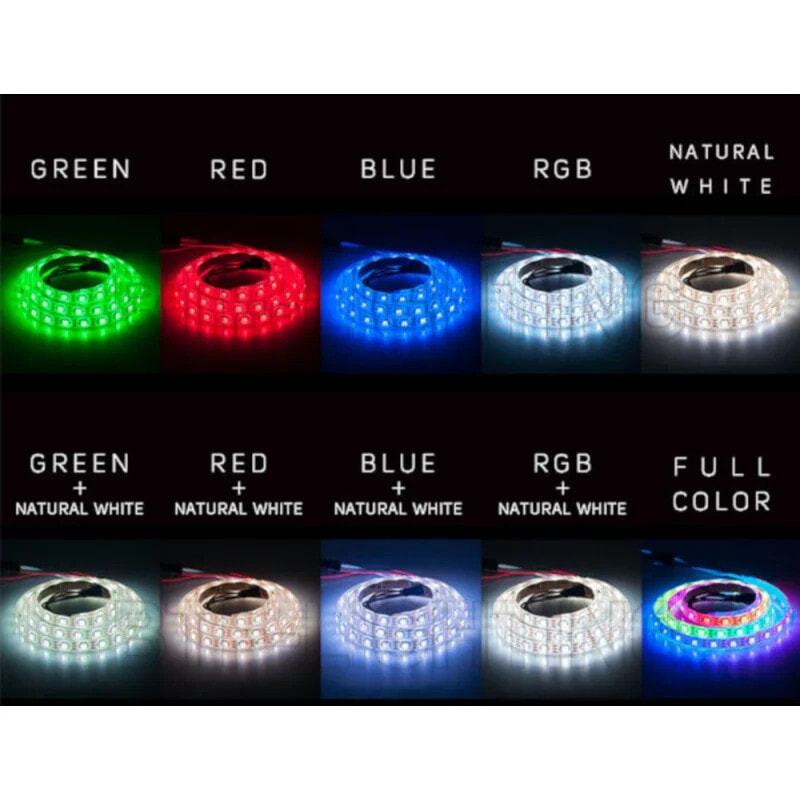
Individually addressed RGBCW LEDs placed on a 1 m panel with a density of 60 LEDs per meter. Pixels other than RGB may also emit shades of white, each pixel can emit color from 32-bit palette. Module requires one microcontroller output (for example,Arduino).
The LEDs are arranged densely, at a distance of about 12 mm, and thanks to this the brightness is really high. The system is supplied with the voltage of 5 V, consumes approx. 4 A at every meter (9 W). It is possible to cut the strip every one diode.
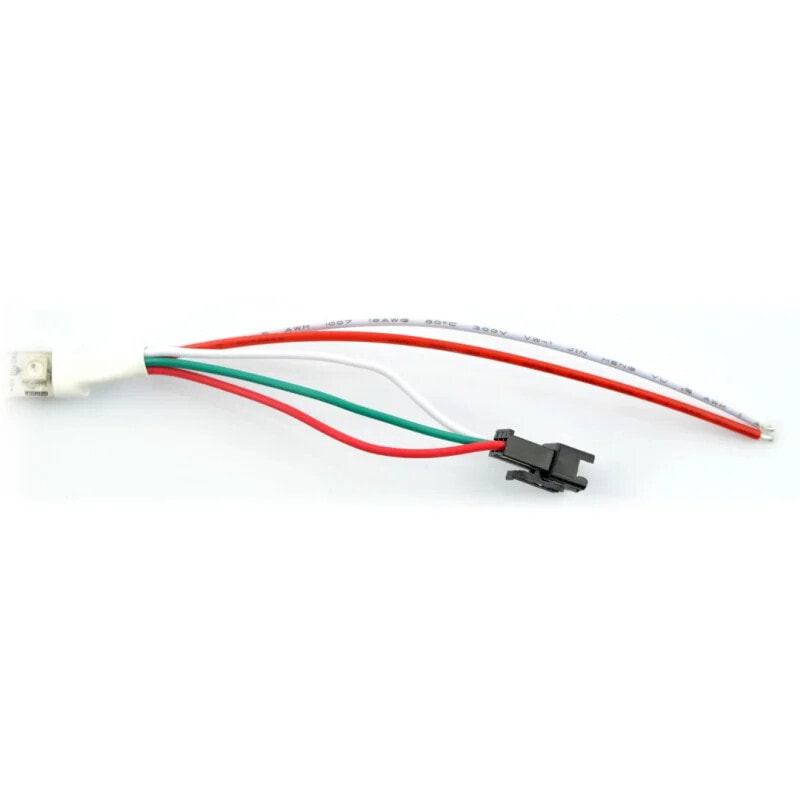
Connection
The device has a 3-pin connector consisting of the following outputs:
- GND (white wire) - module's ground
- 5 V (red wire) - voltage supply, for one matrix you should connect the source with the maximum output current of not less than 9 A for each meter of the strip
- DIN (green wire) - digital control signal from the microcontroller
The product is compatible with Arduino and Raspberry Pi
- The Arduino library in GitHubfor modules NeoPixel along withthe connection examples,
- connection examplewith a Raspberry Pi together with the code.
Install the Adafruit library for Arduino:
- Download the library from GtitHub by clicking the button Download ZIP
- Unzip the downloaded ZIP file, the result should be the folder that contains the files: Adafruit_NeoPixel.cpp That Adafruit_NeoPixel.h and other subfolders
- Rename the main folder to: Adafruit_NeoPixel
- Move the entire folder to the directory that contains the Arduino library, by default you should follow the path: /Documents/Arduino/Libraries
- Start Arduino IDE, the library will appear in the Menu: File -> Examples
First run - simple example
- Run the test by choosing it in the Arduino environment:
- File -> Examples -> Adafruit_Neopixel -> simple
- Select the pin which will control the LEDs. Default is pin 6:
- Line 11 #define PIN 6
- Select the number of pixels that must be controlled. Default is 16:
-
- Line 14 #define NUMPIXELS 16
- Load a program into Arduino. Pixels should turn on in order of the amount specified in line 14.
- If you want to change the lighting color, enter different values into the function:
- Line 40 pixels.setPixelColor(and pixels.Color(0,150,0)) In parentheses there are RGB components, the maximum value is each 255
- Changing the speed of individual pixels is possible by editing the value:
- Line 21 int delayval = 500;
- Supply voltage: 5 V
- Power: 18 W/m
- Current consumption: approx. 4 A per 1 meter for a single diode in color white,
- Used LEDs: LEDs RGBW SMD5050SK6812 (similar to WS2812B)
- Addressed pixel: 1 led RGBW
- Resistance to external conditions: IP65 (silicone cover)
- Width: 10 mm
- Strip length: 5 m
Useful links
- Arduino library in GitHub
- System Ambilight TV Raspberry Pi + OSMC - dobreprogramy.pl
- Example of connecting to the Raspberry Pi